Understanding Kite Bridle Systems: A Comprehensive Guide
The bridle system is arguably the most crucial element in a kite's design, impacting its flight characteristics more than almost any other factor. A poorly adjusted bridle can result in a kite that dives, spins, or simply refuses to fly properly. This guide delves into the intricacies of kite bridles, explaining their function and how to adjust them for optimal flight performance and stability.
What is a Kite Bridle?
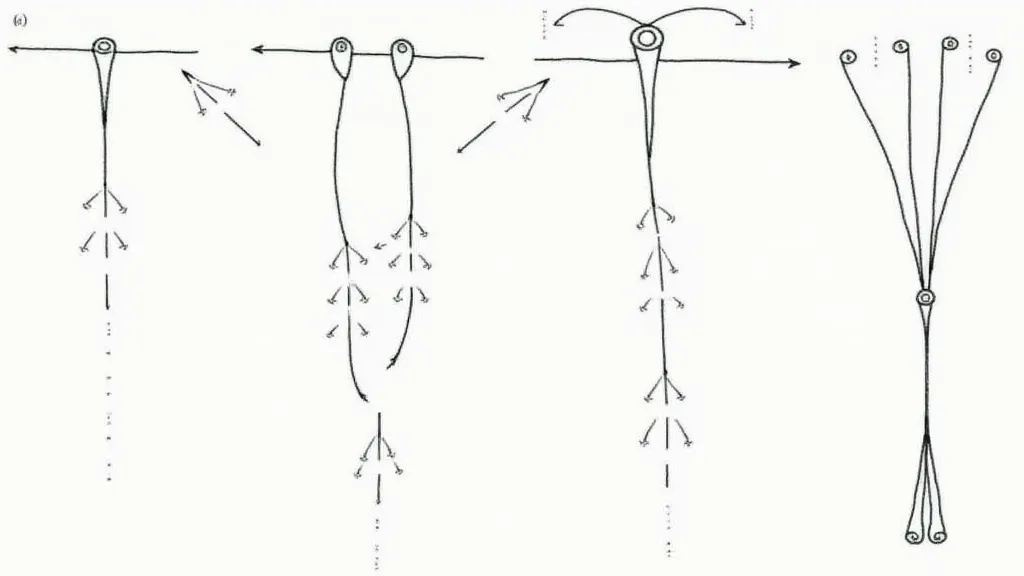
Simply put, a kite bridle is the network of lines connecting the kite's frame to the flying line. It's a system of ropes or cords, strategically placed to distribute the pulling force of the wind across the kite's surface. This distribution is vital for maintaining stability and directing the kite's flight path. The bridle isn't just a single line; it’s a carefully calculated arrangement.

Types of Kite Bridle Systems
While countless variations exist, most custom kite bridles fall into a few primary categories. Understanding these categories provides a foundation for customizing your own.
- Single-Line Bridle: This is the simplest, often used on smaller kites or those designed for basic flight. It has one line connecting the leading edge to the flying line. Easy to adjust, but offers limited control.
- Dual-Line Bridle: A common design involving two lines originating from the leading edge, meeting at a central point. Offers slightly more control and stability than a single-line system.
- Multi-Line Bridle: More complex systems utilizing three or more lines, often found on larger or more complex kite designs. These offer the greatest degree of control and can be tuned for specific flight characteristics.
- "L" Bridle: A very popular design where one line originates from the nose and connects to another line stemming from somewhere on the leading edge (often near the wingtip). This provides good stability and responsiveness.
Adjusting Your Kite Bridle
Bridle adjustment is an iterative process. Small changes can drastically affect flight. Here's a guide to common adjustments:
- Diving: If your kite consistently dives towards the ground, the bridle point on the leading edge is likely too far forward. Move the bridle point slightly backward.
- Spinning: Spinning often indicates an imbalance in the bridle. Check that the lines are even in length and properly secured. Also, double-check that both wingtips are symmetrical.
- Stalling: A stalling kite is struggling to gain lift. Try moving the bridle point slightly forward. Ensure the kite isn’t being flown in too little wind.
- Unstable Flight: Minor instability can be corrected by subtly adjusting the length of individual bridle lines. Experiment to find the optimal balance.
Important Note: Record your adjustments! Keep a notebook to track what you change and how it affects the kite's flight. This will help you understand the sensitivity of your specific design.
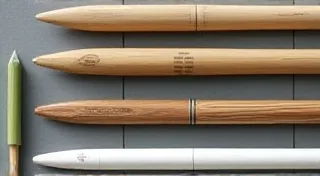
Materials for Kite Bridles
The material you use for your bridle lines also matters. Common choices include:
- Dacron: Durable and resistant to UV damage, a good all-around choice.
- Kevlar: Extremely strong and lightweight, ideal for high-performance kites.
- Nylon: Economical but less durable than Dacron or Kevlar.
Experimentation is Key
Building and flying custom kites is a journey of experimentation. Don't be afraid to deviate from established patterns and try new things. Understanding the principles behind bridle systems empowers you to design kites that fly exactly as you envision. The more you experiment, the better you're able to translate your creative ideas into stunning aerial displays.