Building a Dual-Line Sport Kite: Introduction to Kite Stunts
Welcome to the exciting world of sport kite flying! This article will guide you through building a dual-line kite, opening the door to a whole new realm of tricks, maneuvers, and aerial acrobatics. While building a traditional single-line kite is a fantastic start, the dual-line kite unlocks a different kind of freedom and control.
What is a Dual-Line Sport Kite?
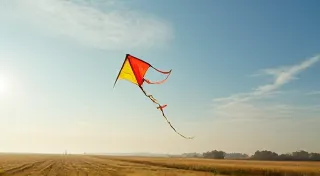
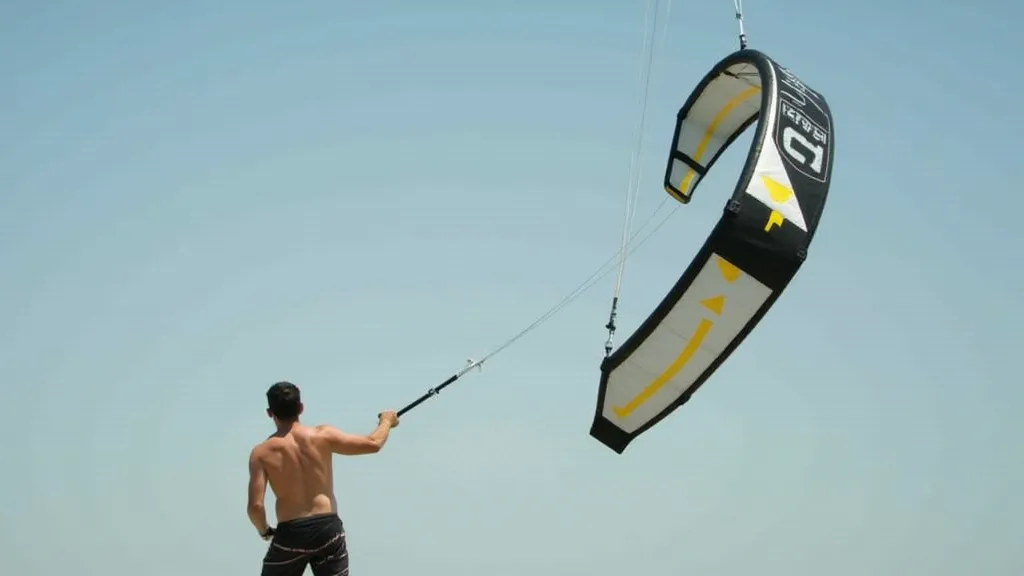
A dual-line sport kite, also known as a "stunt kite," has two lines attached to the kite’s bridle, allowing you to control its rotation and movement in all directions. This opens the possibility of performing loops, spins, and other impressive aerial maneuvers. Unlike a single-line kite which is primarily pulled by the wind, a dual-line kite allows for significant rider input.
Materials You’re Going to Need
The materials for building a dual-line sport kite are similar to those used for simpler kites, but with a few additions to support the dual-line bridle. Here's a checklist:
- Kite Spars: Two fiberglass spars - one longer (approximately 75-90 cm) for the spine, and a slightly shorter one (60-75 cm) for the spreader. The exact length depends on your desired kite size.
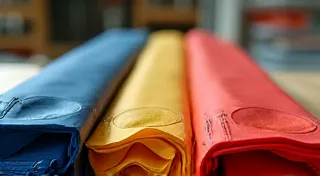
- Kite Covering: Ripstop nylon or polyester fabric (approximately 1.5m x 2m). Lightweight is key for good performance.
- Bridle Line: Strong, low-stretch nylon or braided polyester line (approximately 20-30 meters).
- Flying Lines: Two identical lengths of durable flying line (approximately 30-50 meters each). The heavier the line, the more control you can exert, but also the more resistance you’re facing.
- Swivels: Two swivels to prevent line twist.
- Handles or Kite Bar: A kite bar is the preferred choice for sport kite flying, as it provides much better control.
- Glue/Tape: Strong adhesive suitable for nylon/polyester.
- Scissors/Craft Knife: For cutting fabric and line.
- Ruler/Measuring Tape: Precision is important!

Construction Steps: A Basic Framework
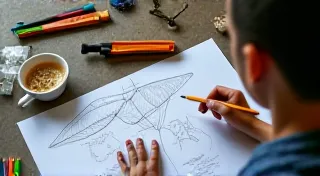
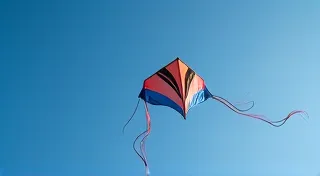
- Cut the Kite Shape: A simple diamond or teardrop shape is a good starting point. Ensure symmetrical cuts.
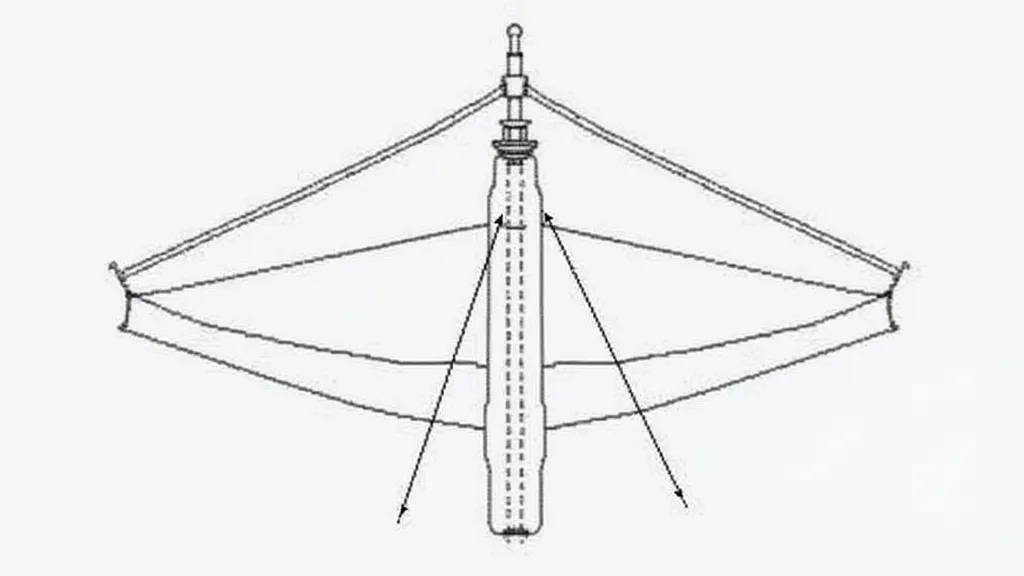
- Attach the Spars: Glue or tape the spine spar vertically down the center of the kite shape. Then, attach the spreader spar horizontally, intersecting the spine spar. Ensure the spars are securely fastened and create a stable framework.
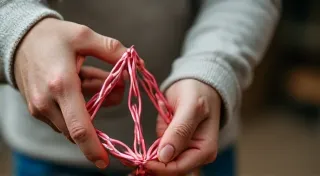
- Create the Bridle: This is crucial. The bridle consists of several lines attaching to the kite’s frame, merging into a single point. This single point will connect to the flying lines. The precise bridle point is what dictates kite performance. Experimentation is key (more on this later!).
- Attach the Flying Lines: Connect the flying lines to the bridle point, using a secure knot. Attach a swivel to the end of each flying line.
- Handle/Bar Attachment: Securely attach the flying lines to your kite bar or handles.
Fine-Tuning and Adjustment
Building the kite is only the first step. Getting it to fly *well* requires fine-tuning. The position of the bridle point is critical. Moving the bridle point slightly up or down will dramatically affect the kite’s responsiveness and stability.
- Bridle Point Too Low: The kite may loop aggressively, be unstable, and hard to control.
- Bridle Point Too High: The kite may be sluggish and unresponsive.
Small adjustments can make a big difference. Be prepared to experiment! Different wind conditions also require slight adjustments to the bridle position.
Getting Started with Stunts
Once you have your kite flying smoothly, you can begin to learn simple stunts. Start with basic turns and figure-eights. As you become more comfortable, you can progress to more complex maneuvers like loops and spins.
Remember to practice in a safe, open area, free from obstacles. A helper can be invaluable for initial adjustments and safety.
Building and flying a dual-line sport kite is a rewarding experience. With a little effort and experimentation, you’re well on your way to mastering the art of kite stunts!