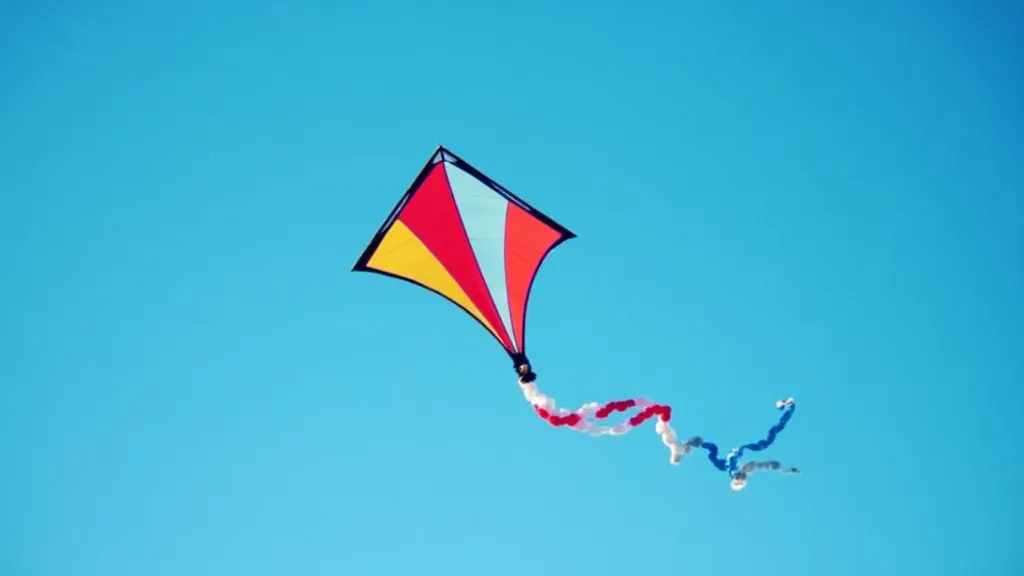
Beginner's Guide to Building a Simple Diamond Kite
This guide will walk you through building a classic diamond kite, perfect for beginners and kids eager to experience the joy of kite flying! It’s a simple project using readily available materials, offering a fantastic introduction to the world of kite making.
Materials You'll Need
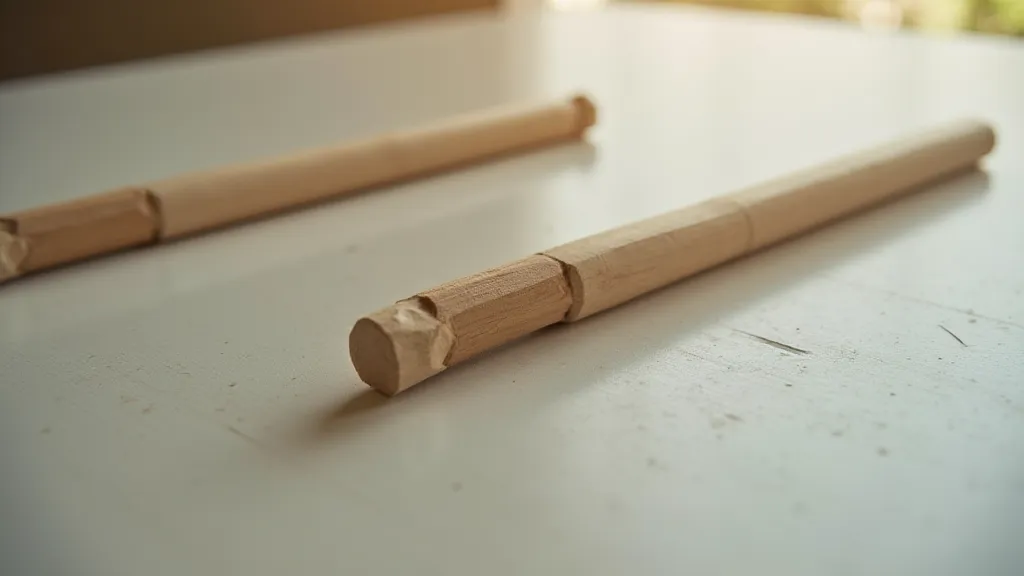
- Two wooden dowels: One approximately 24 inches long (vertical spine) and one approximately 18 inches long (horizontal spreader). The exact lengths can be adjusted slightly depending on your desired kite size.
- Strong Kite String or Twine
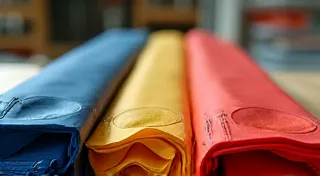
- Tyvek or Ripstop Nylon Fabric (about 2 feet x 1.5 feet) – Tyvek is readily available from hardware stores.
- Tape (Packing tape or strong duct tape)
- Scissors
- Ruler or Measuring Tape
- Pencil or Marker
Step 1: Preparing the Frame
First, we'll construct the kite's frame. The dowels will form the cross shape of the diamond.
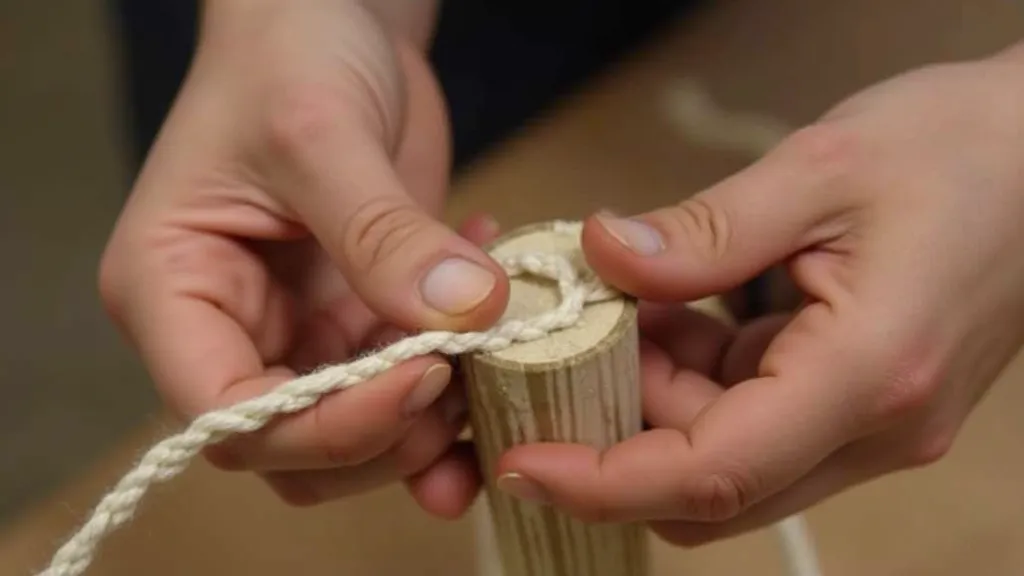
- Mark the Dowels: On the longer dowel (spine), mark a point exactly in the middle (12 inches from either end). On the shorter dowel (spreader), mark a point about 2/3 of the way from one end. The precise location isn't critical, but aim for roughly 6-8 inches from the end.
- Assemble the Cross: Lay the longer dowel horizontally. Position the shorter dowel so the marked point on the spreader aligns with the marked point on the spine. The spreader should cross the spine at a slight angle – approximately 60-70 degrees.
- Secure the Cross: Tightly bind the two dowels together at the marked crossing point using string. Wrap the string multiple times in both directions (diagonally) for a strong joint. A drop of glue can be added for extra security.
Step 2: Creating the Kite Outline
Now, we’re going to create the diamond shape based on the frame.
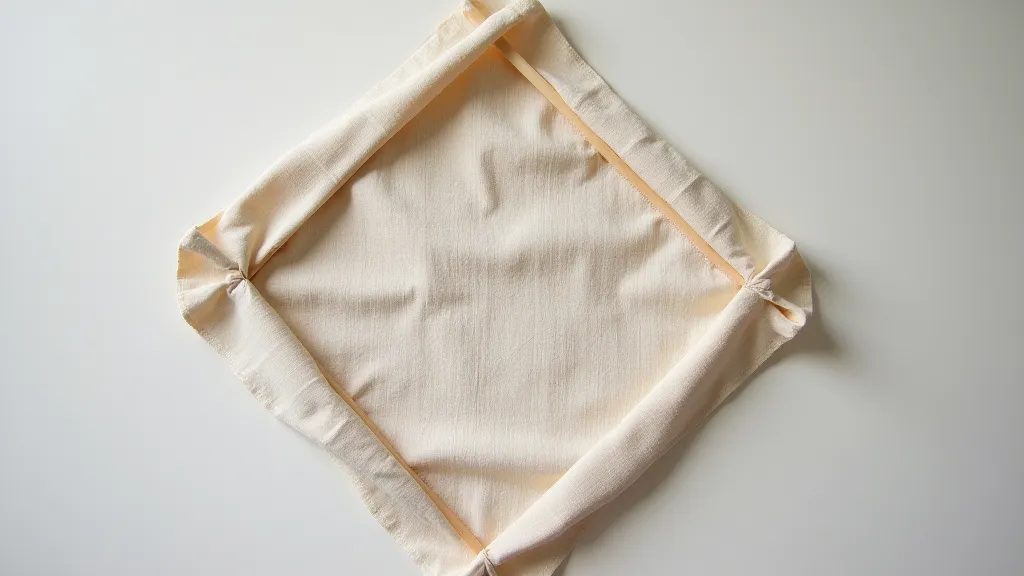
- Lay Fabric over the Frame: Center the fabric over the assembled dowel frame.
- Mark the Outline: Using a pencil or marker, trace around the frame onto the fabric. Ensure you leave about 1 inch of extra fabric around the entire frame – this will be folded over and taped down later.
- Cut the Fabric: Carefully cut along the marked outline, creating a diamond shape of fabric.
Step 3: Attaching the Fabric to the Frame
This step involves securing the fabric to the dowels.
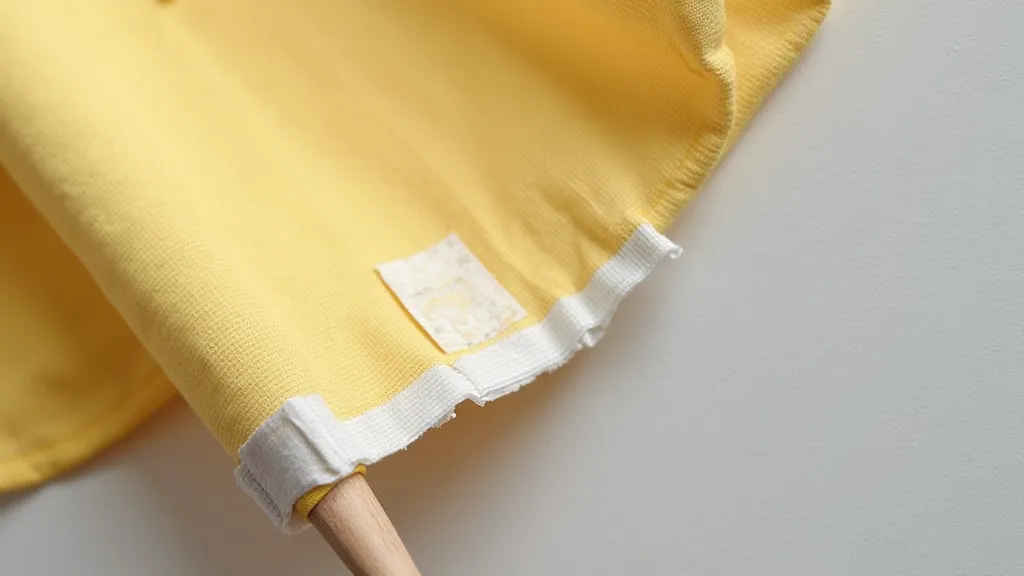
- Fold and Tape: Fold the extra inch of fabric over each dowel. This creates a neat edge. Secure the folded fabric to the dowels using tape. Make sure the tape is firmly attached.
- Reinforce Corners: The corners of the kite are particularly vulnerable. Apply extra layers of tape to reinforce these areas.
Step 4: Bridle and Flying Line
The bridle is crucial for proper kite flight. It’s the point where the flying line attaches to the kite.
- Bridle Attachment: Tie two pieces of string to the spine of the kite. One string should be attached about 6 inches from the top of the spine, and the other about 4 inches from the bottom.
- Join the Bridle: Bring the two strings together and tie them securely. This is your bridle point.
- Attach Flying Line: Tie your flying line to the bridle point.

Step 1: Flying Your Kite!
Find a wide-open space free from obstructions (trees, power lines). Hold the kite up to the wind and gently release it. You may need to adjust the bridle point slightly to achieve optimal flight – if the kite dives, move the bridle point slightly upward; if it loops, move it downward.