Creating Custom Kite Tails: Adding Flair and Movement
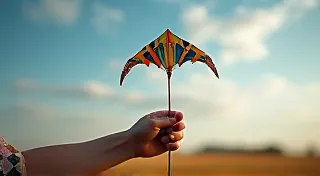
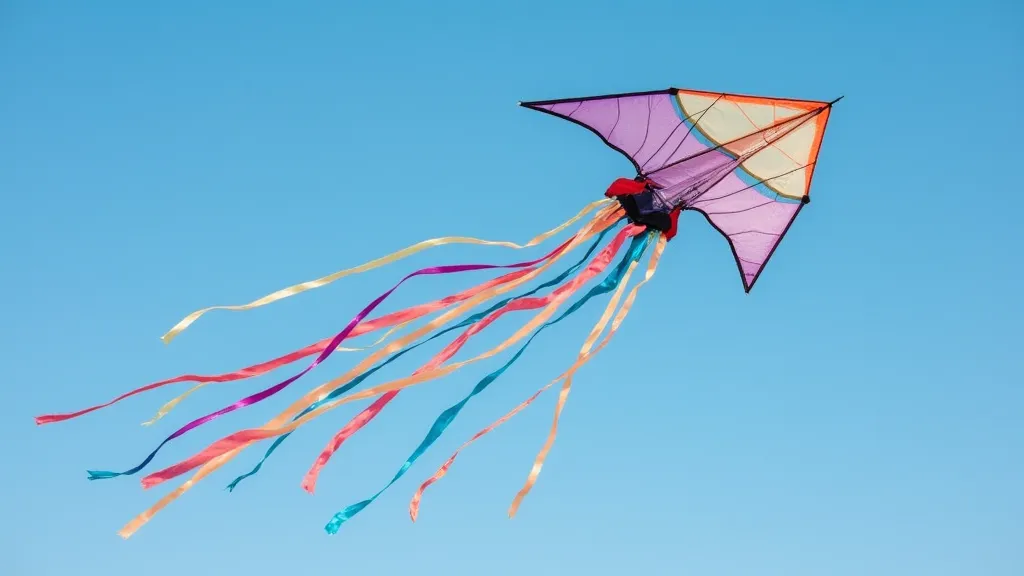
The beauty of a custom kite isn't just in its shape or construction; it’s in the details! A well-crafted tail adds significant visual appeal and contributes to a kite's stability and flight characteristics. This article explores various techniques and materials you can use to create truly unique and eye-catching kite tails.
Why Add a Tail?
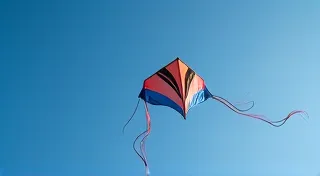
Beyond aesthetics, a kite tail serves a crucial purpose. It acts as a counterbalance, helping to stabilize the kite and prevent it from spinning or tumbling. The length and weight of the tail directly influence how the kite flies. Longer, heavier tails generally increase stability, while shorter, lighter tails can allow for more acrobatic maneuvers.
Materials for Kite Tails
The possibilities are endless when it comes to tail materials! Here are a few popular choices, each offering a different look and feel:
- Crepe Paper: A classic choice! Crepe paper is lightweight, readily available, and comes in a huge variety of colors. It creates a flowing, delicate tail.
- Plastic Shopping Bags: A surprisingly effective and eco-friendly option! Cut plastic bags into strips – they’re durable and add a unique rustling sound in the wind.
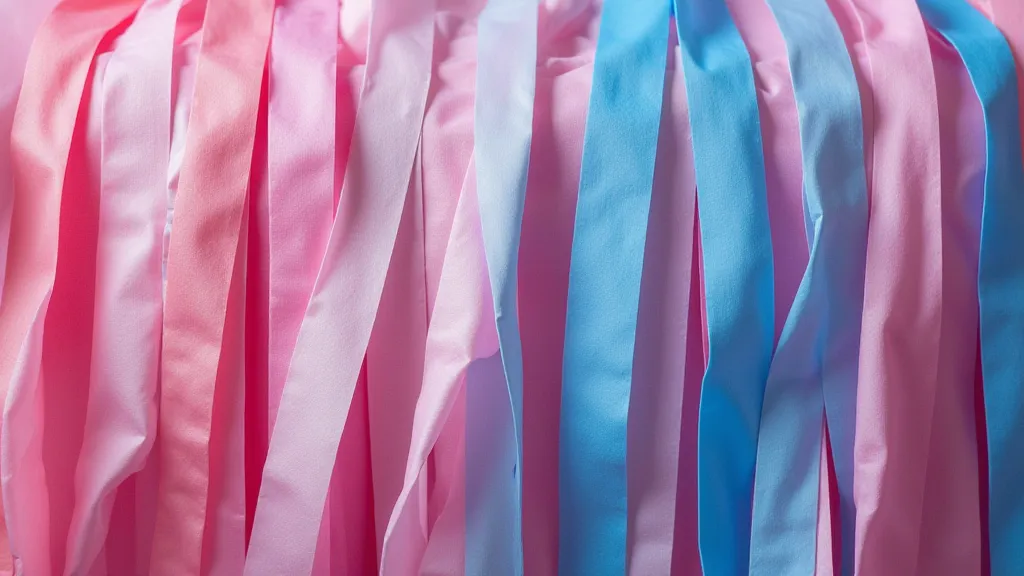
- Ribbon: Ribbon provides a more polished and elegant look. Experiment with different widths and textures.
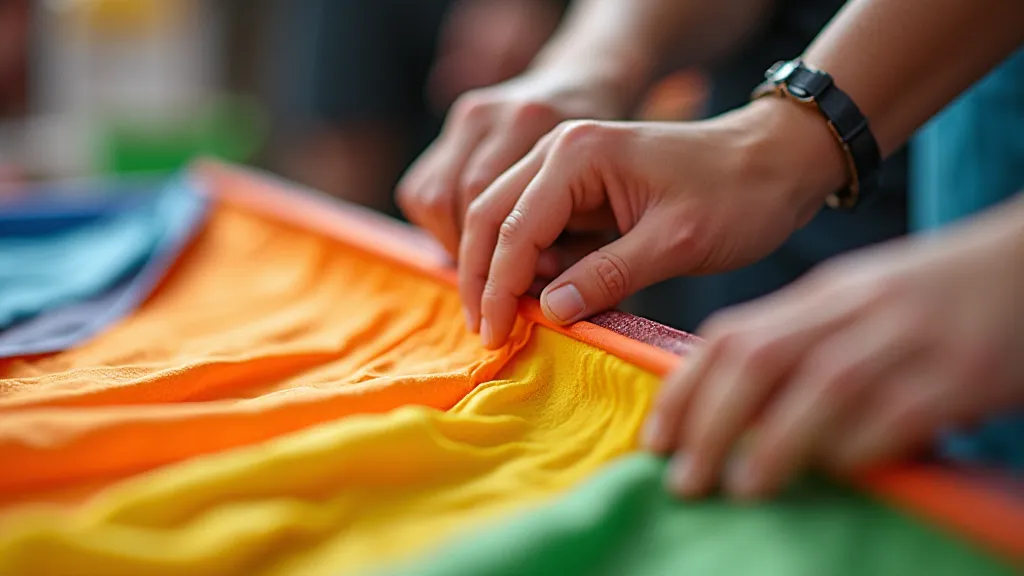
- Fabric Scraps: Got leftover fabric from another project? Transform them into eye-catching tail streamers. Cotton, nylon, and polyester all work well.
- Tinsel: For a dazzling effect, add tinsel streamers!


Tail Construction Techniques
Here are a few techniques to get you started:
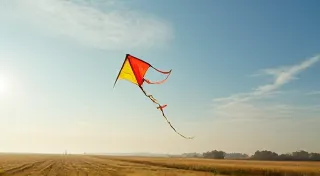
Simple Streamer Tail
This is the most basic method. Simply cut your chosen material into strips (approximately 1-2 inches wide and 2-4 feet long) and tie them to the bottom edge of your kite.
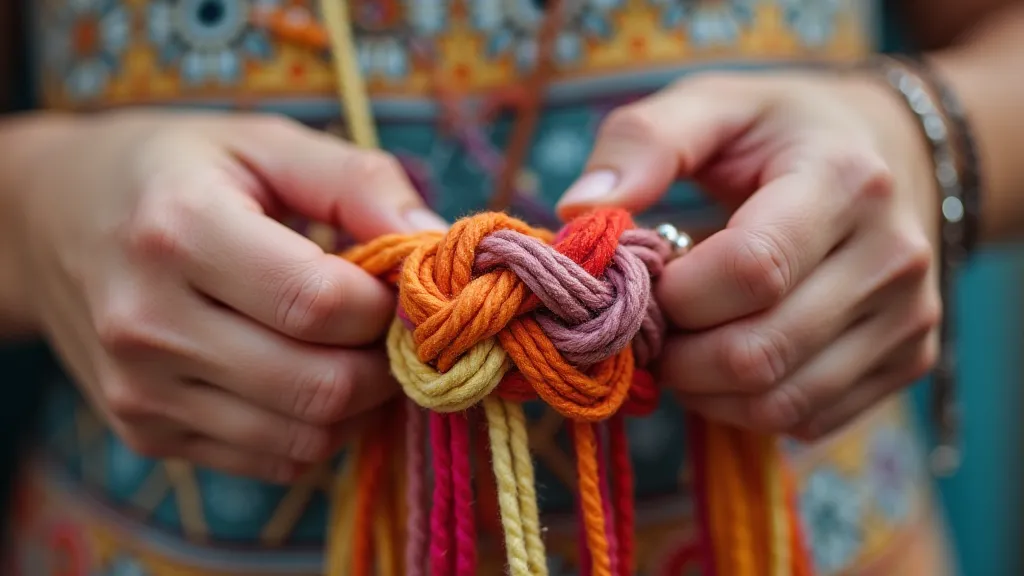
Braided Tail
Braiding your tail material adds a unique texture and visual interest. Simply braid three strands of your chosen material and attach the braided tail to the kite.
Multi-Strand Tail
Create a fuller tail by attaching multiple streamer sets in a cascading effect. This creates a wider, more dramatic tail.
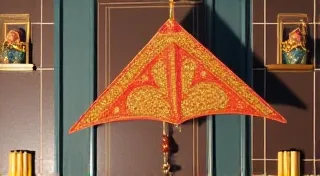
Adding Embellishments
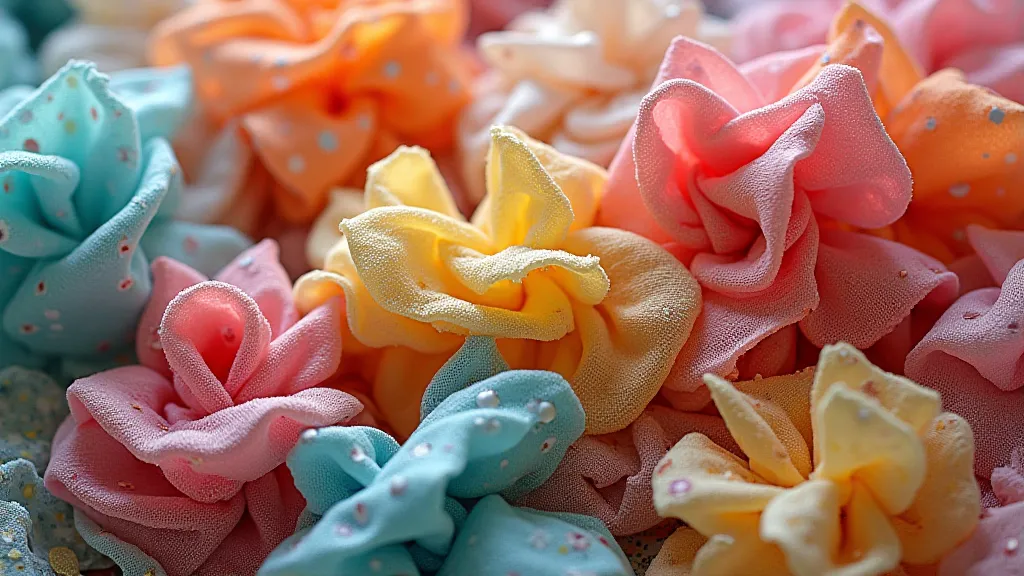
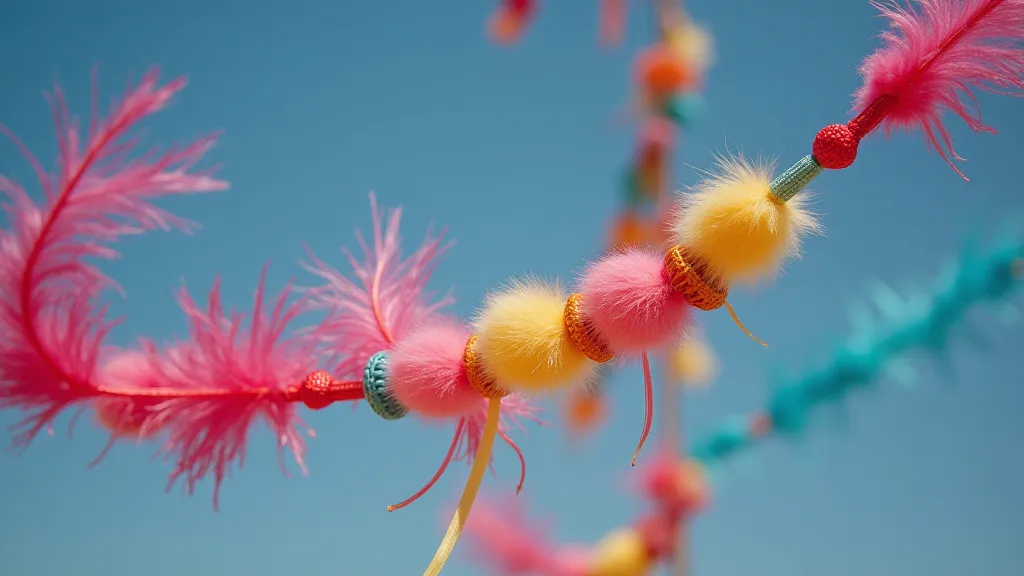
Don’t be afraid to get creative! Add beads, sequins, feathers, or even small, lightweight charms to your tail for extra flair.
Tips for Success
- Test Your Tail: Before taking your kite out for a full flight, test the tail in a controlled environment to ensure it doesn't negatively impact the kite’s stability.
- Weight Distribution: Consider the overall weight distribution of the kite. A heavier tail might require adjustments to the kite’s bridle.
- Experiment! There are no hard and fast rules when it comes to kite tails. Don’t be afraid to experiment with different materials and techniques to find what works best for your custom kites.
Creating custom kite tails is a fantastic way to personalize your kites and add a unique touch to your flying experience. So gather your materials, unleash your creativity, and let your kite tails dance in the wind!