Decorating Your Kite: Creative Ideas for Painting and Design
You've built your kite – congratulations! But a plain, unadorned kite can be a bit… well, bland. This article explores various ways to decorate your creation, transforming it from a functional flyer into a stunning piece of aerial art. Whether you're a seasoned kitemaker or just starting out, there's something here to inspire your creativity.
Choosing Your Materials
Before you start, consider the type of kite you're decorating and the materials it’s made from. Paper kites require lighter-weight paints and gentler techniques than those used on plastic or ripstop nylon kites. Always test your chosen method on a small, inconspicuous area of the kite first to ensure it doesn't damage the fabric or affect the kite's flight characteristics.
Painting Techniques
Acrylic paints are a popular choice for decorating kites due to their durability and vibrant colors. However, they can be heavy, so thin coats are essential. Water-based acrylics are preferable as they’re easier to work with and less likely to crack. You can also use fabric paints specifically designed for textiles.

Tips for Painting:
- Thin Your Paints: Mix paints with water to reduce weight and improve adhesion.
- Multiple Coats: Several thin coats are better than one thick one. Allow each coat to dry completely before applying the next.
- Stencils: Use stencils for precise shapes and patterns. Secure the stencil firmly to the kite before painting.
- Masking Tape: Protect areas you don't want painted with masking tape.
Fabric Markers: A Simple Solution
For a quicker and easier decorating option, consider using fabric markers. They're great for adding details and creating intricate designs. They’re also ideal for beginners.

Fabric Marker Tips:
- Choose the Right Size Tip: Fine-tipped markers are perfect for detail work, while broader tips cover larger areas more quickly.
- Multiple Passes: Apply multiple passes with the marker for more vibrant color.
- Practice First: Test the markers on scrap fabric to get a feel for their flow and opacity.
Beyond Painting and Markers: Other Decorative Ideas
Don't limit yourself to just paint and markers! Here are a few other ways to add personality to your kites:
- Appliqués: Glue fabric scraps, felt shapes, or even small sequins onto the kite surface.
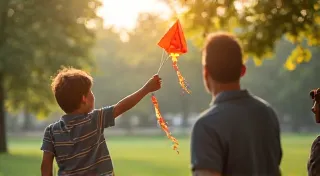
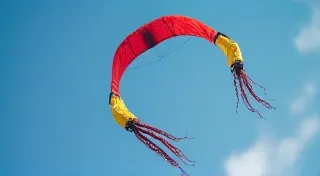
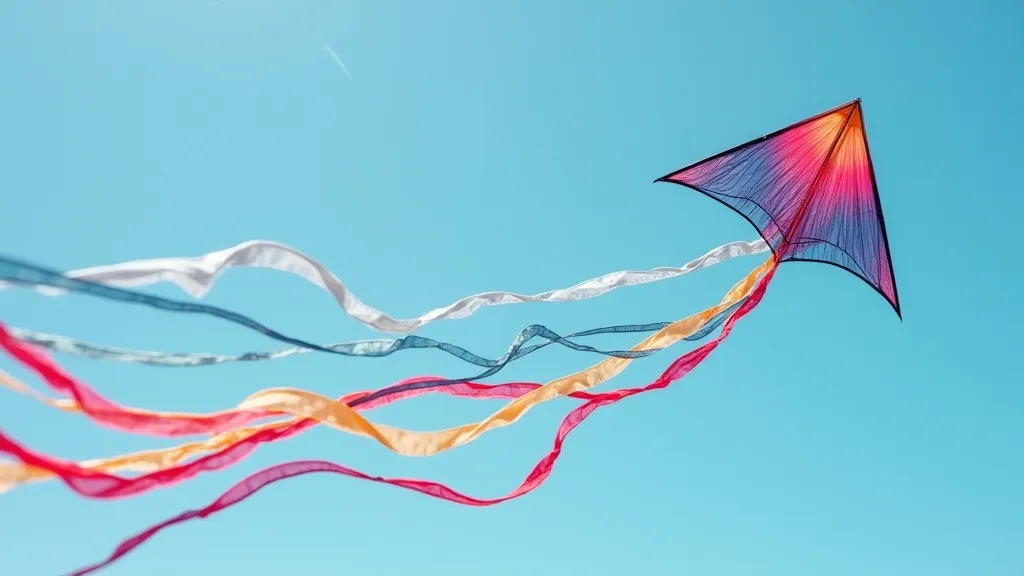
- Ribbon and Streamers: Attach ribbons, streamers, or strips of fabric to the kite's bridle or tail for added visual flair and movement.
- Collage: Combine different materials – paper, fabric, photographs – to create a unique collage design. Be mindful of weight!
- Glitter (with caution!): Glitter can add sparkle, but it's messy and can affect the kite's flight if applied excessively. Use a strong adhesive and apply sparingly.
Important Considerations
Remember that every added decoration increases the kite’s weight. A heavier kite will require more wind to fly and may be more difficult to control. Keep the design lightweight and balanced to maintain optimal flight performance. Experiment, have fun, and let your creativity soar!