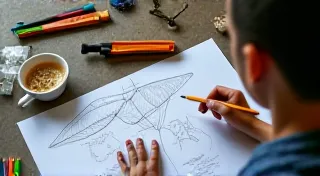
Introduction to Diamond Kite Building: A Beginner's Guide
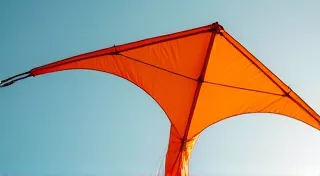
Welcome to the wonderful world of kite making! This tutorial will guide you through the steps to build a classic diamond kite, a perfect starting point for anyone new to the hobby. Diamond kites are simple, reliable, and provide a satisfying flying experience. Let’s get started!
What You'll Need: Materials & Tools
Before you begin, gather these essential materials. Don't worry about needing expensive equipment – basic supplies will do!
- Sailcloth: Ripstop nylon is ideal due to its lightweight and tear resistance. Tyvek (the material used in shipping envelopes) is another good option, readily available and easy to work with. A piece approximately 24” x 24” is a good starting size.
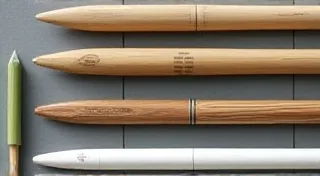
- Spines (Vertical & Horizontal): Thin wooden dowels (bamboo skewers can work for small kites) are typical. A vertical spine (the longer one) should be about 24-30 inches long, and the horizontal spine around 18-24 inches.
- Bridle Line: Strong kite string or lightweight twine.
- Glue/Tape: Glue for attaching sailcloth to the frame (wood glue or hot glue works well, but be careful!). Packing tape or reinforced tape will also be useful.
- Scissors/Craft Knife: For cutting the sailcloth.
- Ruler/Measuring Tape: Accuracy is key!
- Pencil/Marker: For marking the sailcloth.

Step 1: Cutting and Shaping the Sail
1. Create the Diamond Shape: Using your ruler and pencil, draw a diamond shape on your sailcloth. The longer diagonal (vertical spine) should be around 24 inches, and the shorter diagonal (horizontal spine) around 18 inches. This will determine the overall size of your kite.
2. Allow for Fold-Over: Add about ½ inch to 1 inch extra around the edges of the diamond. This extra material will be folded over the frame for a secure attachment.
3. Cut Carefully: Use scissors or a craft knife to cut along your marked lines. Precision here contributes to a better-flying kite!
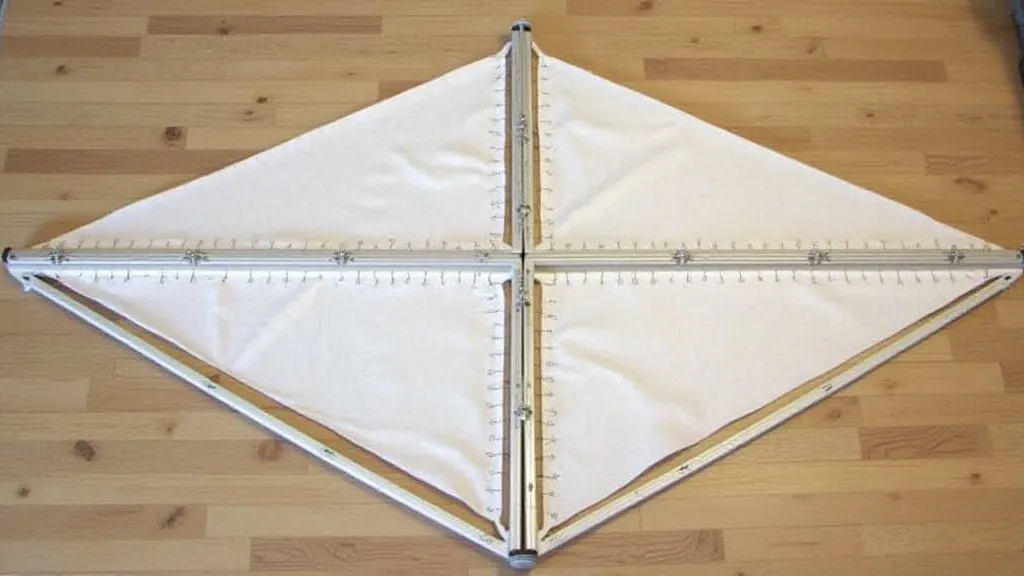
Step 2: Assembling the Frame
1. Attach the Vertical Spine: Center the vertical spine along the long diagonal of the sail. Fold the extra sailcloth over the spine and secure it with glue and/or tape. Make sure the spine is straight and well-attached.
2. Attach the Horizontal Spine: Position the horizontal spine across the sail, perpendicular to the vertical spine, and centered at the kite's widest point. Secure it similarly to the vertical spine – folding the sailcloth over and gluing/taping it in place.
3. Reinforce the Joints: Pay special attention to where the two spines intersect. Reinforce this joint with extra glue and tape to prevent it from coming apart during flight.
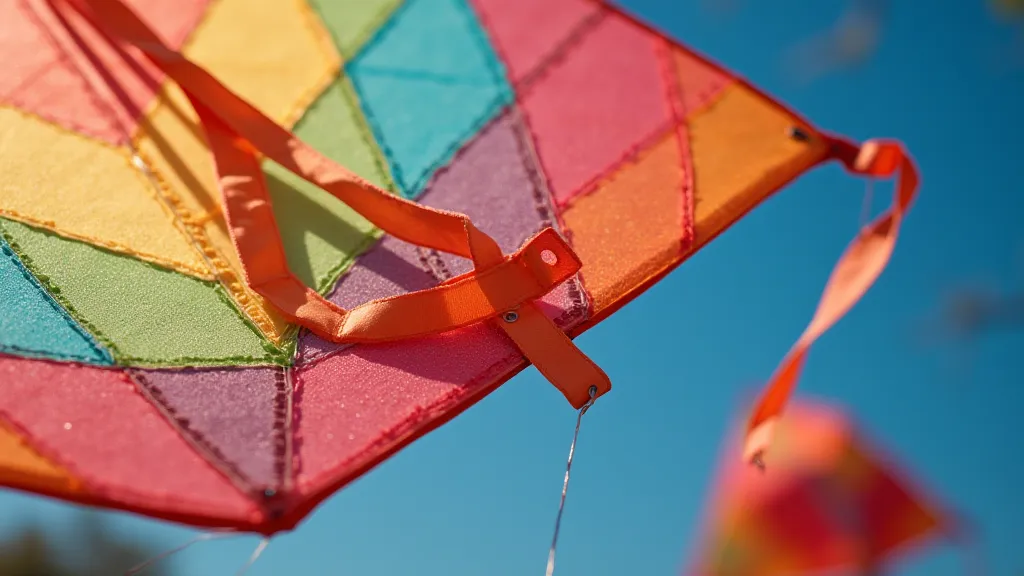
Step 3: Creating the Bridle
The bridle is the critical string system that connects the kite to your flying line. A properly placed bridle ensures stability and a good flying angle.
1. Drill Bridle Holes (Optional): You can either use tape to create a bridle attachment point or drill small holes near the ends of the vertical spine. If drilling, reinforce the holes with small pieces of tape to prevent tearing.
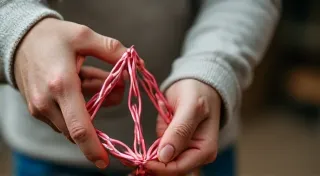
2. Attach Bridle Lines: Cut two pieces of bridle line, each about 18-24 inches long (adjust based on your kite size). Attach one line to each end of the vertical spine (or through the tape reinforcement). These lines will converge.
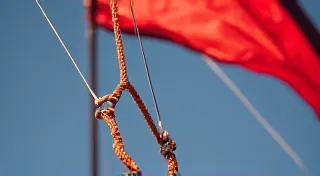
3. Tie the Convergence Knot: Bring the two bridle lines together and tie them in a secure knot. This is the point where your flying line will connect. The placement of this knot is crucial for flight stability - experiment later to find the optimal position.
Step 4: Preparing for Flight
1. Inspect Your Kite: Check all seams, joints, and the bridle knot for secure attachments. Reinforce any weak spots.
2. Find a Windy Spot: Choose a large, open area away from trees, power lines, and people. A moderate, steady wind is ideal.
3. Attach Your Flying Line: Tie your flying line to the bridle convergence knot.
Troubleshooting Tips
- Kite Dives: Move the bridle knot slightly upward (closer to the top of the kite).
- Kite Spins: Move the bridle knot slightly downward (closer to the bottom of the kite).
- Kite Won't Lift: Check for any extra weight or drag. Make sure the wind is strong enough.
Now go outside and enjoy your newly built diamond kite! Experiment with different bridle positions and wind conditions to master the art of kite flying.