Advanced Kite Designs: Creating a Box Kite
Ready to take your kite building to the next level? The box kite, with its distinctive cube-like structure, represents a significant step up in complexity from simpler diamond or delta designs. This article will guide you through the process of constructing a box kite, covering the intricacies of multi-sided kite structures, accurate measurements, and techniques for achieving a stable and powerful flight. We'll also touch on wind conditions and potential design variations.
Understanding the Box Kite Structure
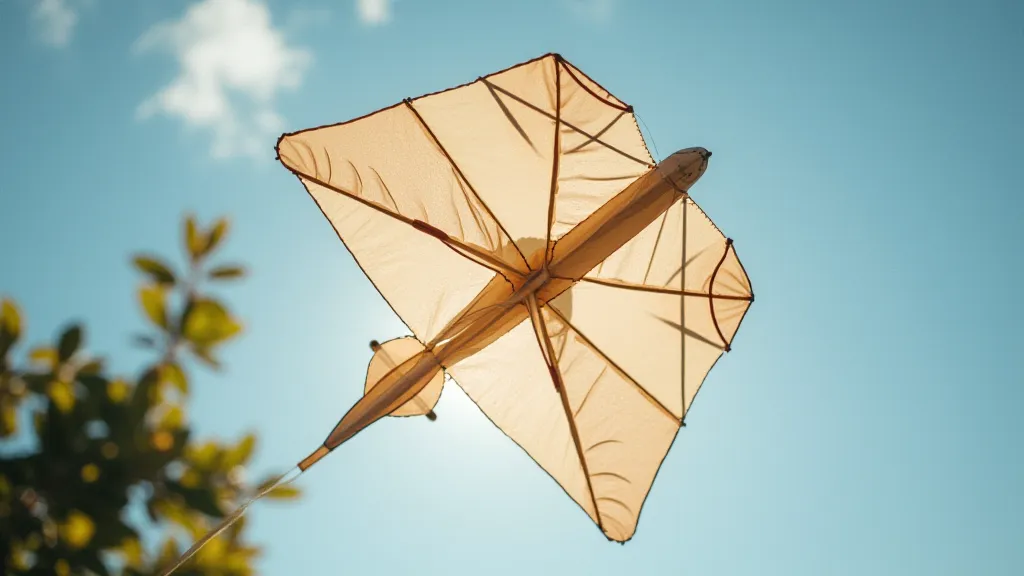
Unlike traditional kites that rely on a single surface for lift, a box kite utilizes multiple flat panels arranged in a box-like configuration. This design increases surface area and provides greater stability, allowing it to handle stronger winds and perform reliably.
Materials and Tools
For this project, you’re going to need more precision and slightly different materials than a simpler kite. Here’s a basic list:
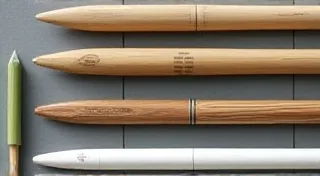
- Kite Spars: Lightweight wood dowels (e.g., bamboo or balsa wood) – typically around 1/4" to 3/8" diameter. You'll need varying lengths depending on the size of your box.
- Kite Covering: Ripstop nylon, polyester, or coated paper – lightweight and durable are key.
- Strong Thread or String: For seaming and bridle attachment.
- Glue: A flexible kite glue or fabric adhesive.
- Scissors or Craft Knife: For cutting the covering material.
- Ruler or Measuring Tape: Accuracy is vital!
- Pencil or Marker: For marking measurements.
Construction Steps
- Design and Dimensions: Begin with a plan. A standard box kite is a cube, but you can experiment with variations (e.g., a taller rectangular box). Precise measurements are *essential*. A typical size might be 24" x 18" x 18" (length x width x height). Draw out your plan on paper, labeling all dimensions.
- Cutting the Panels: Based on your plan, carefully cut out the kite panels from your chosen covering material. Accuracy here will directly impact the kite’s stability. You'll likely need 6 panels for a standard cube, but more if you're making variations.
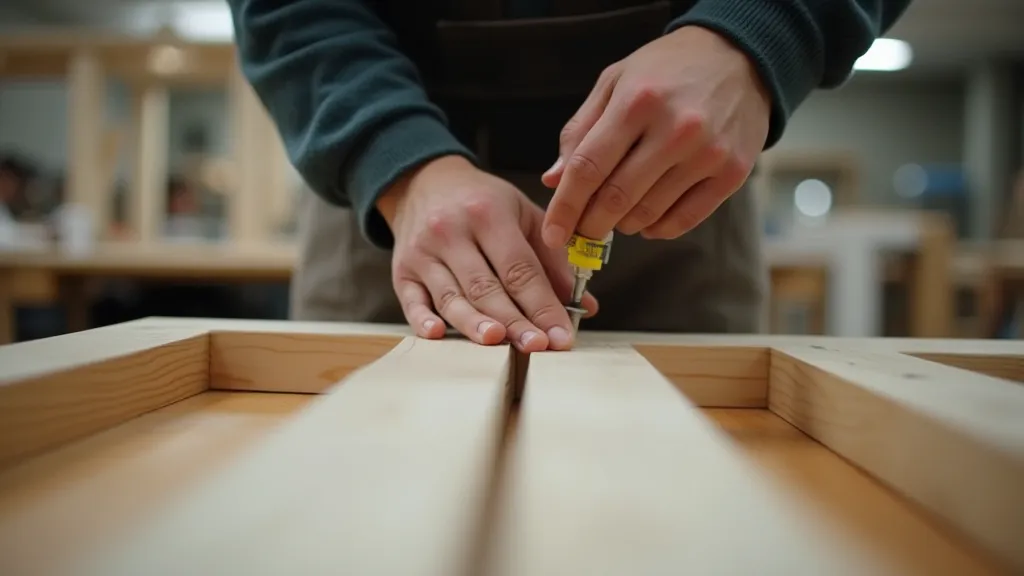
- Building the Frame: Assemble the frame by connecting the spars. Ensure the corners are square and the frame is strong. This is the skeleton of your kite. Use glue and thread to secure the joints.
- Attaching the Panels: Carefully attach the panels to the frame. Ensure they are taut and wrinkle-free. Start with one panel, and work your way around.
- Bridle Attachment: The bridle is crucial for controlling the kite’s flight. Experiment with different bridle point locations to optimize stability and lift. Usually, the bridle points are placed near the top and bottom of the kite’s main spine.
- Tail (Optional): A tail can improve stability, especially in windy conditions. Experiment with different tail lengths and weights.
Wind Considerations
Box kites are known for their ability to handle stronger winds, but even they have their limits. Start with a lighter wind day for your first flight. If the wind is too strong, the kite could become difficult to control or even damaged. Pay attention to the kite’s reaction to the wind; adjustments to the bridle may be needed to optimize performance.
Troubleshooting and Design Variations
If your box kite isn't flying well, consider these common issues:
- Instability: Adjust the bridle point. A slight shift can make a significant difference.
- Lack of Lift: Make sure the panels are taut and the frame is strong.
- Tilting: Check for uneven panel placement or imbalance in the frame.
Once you’re comfortable with the basic design, explore variations. You could experiment with different panel shapes, sizes, or arrangements. Consider adding internal bracing for increased strength and rigidity.

Conclusion
Building a box kite is a rewarding challenge for any kite enthusiast. It requires patience, precision, and a willingness to experiment. With practice and attention to detail, you’ll be able to create a powerful and stable kite that will provide hours of flying enjoyment. Good luck, and happy building!