Building a Ram-Air Kite: A Step-by-Step Tutorial
Ram-air kites, also known as foil kites, offer a significant leap in kite design complexity compared to traditional diamond or delta kites. Their unique airfoil shape grants exceptional stability and the ability to fly effectively in a broader range of wind conditions. This guide will walk you through the process of building your own ram-air kite. This is an advanced project; some prior kite building experience is highly recommended.
Understanding Ram-Air Kite Construction
Unlike single-surface kites, ram-air kites have two chambers. Air enters the front chamber and exits the back, creating lift. The internal pressure, combined with the airfoil shape, provides the lift and stability. Accurate measurements and precise construction are crucial for a successful ram-air kite.
Materials You'll Need
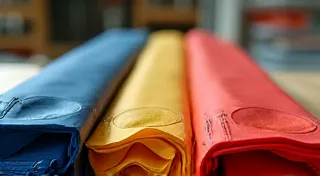
- Ripstop Nylon Fabric: Approximately 2-3 square meters, lightweight (around 18-22 grams/square meter). Choose a color you like!
- Bridle Line: Strong and low-stretch, like Dacron or Dyneema.
- Flying Line: Appropriate strength for the kite’s expected size and wind conditions.
- Reinforced Thread: Strong, durable thread for sewing.
- Sewing Machine: Highly recommended for accurate seams.
- Scissors or Rotary Cutter: For precise fabric cutting.
- Measuring Tape & Ruler: For accurate measurements.
- Pencil or Fabric Marker: For marking patterns.
- Spreader Bars (Optional): For added structural support.
- Glue/Adhesive: For securing spreader bars or other parts.
Note: Detailed pattern dimensions are crucial and are typically available as separate downloadable plans or can be adapted from existing ram-air kite designs. This tutorial assumes you have a pattern.
Step 1: Cutting the Fabric
Carefully transfer your pattern onto the ripstop nylon fabric. Accuracy is vital! Double-check all measurements before cutting. Cut the fabric pieces precisely along the marked lines. You're typically dealing with left and right panels for the front and back chambers, as well as reinforcement strips.

Step 2: Sewing the Chambers
Begin sewing the front and back chambers together. Follow your pattern instructions meticulously. Pay close attention to seam allowances and ensure accurate alignment. Using a sewing machine is significantly easier and produces more consistent results. Consider using a double-stitched seam for added strength.

Step 3: Creating the Leading and Trailing Edges
The leading and trailing edges of the ram-air kite require reinforcement to prevent tearing and maintain the airfoil shape. Fold over the edges and secure them with stitching. Alternatively, you can attach narrow strips of a more robust material to the edges.

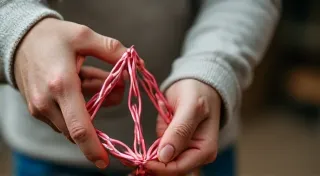
Step 4: Installing the Bridle
The bridle system is critical for controlling the kite's flight characteristics. Attach the bridle lines to designated points on the kite’s surface, following your pattern’s instructions. These points are carefully calculated to ensure balanced flight.

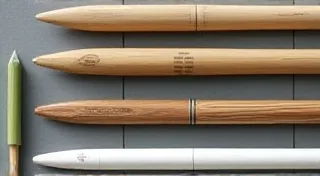
Step 5: Adding Spreader Bars (Optional)
Spreader bars provide additional structural support and help maintain the airfoil shape, especially in lighter winds. If using spreader bars, carefully insert them into the designated pockets within the kite’s chambers and secure them with glue or stitching.

Step 6: Final Inspection and Adjustments
Carefully inspect the entire kite for any imperfections in the stitching or alignment. Make any necessary adjustments to the bridle lines to ensure proper flight balance. A slight adjustment can make a big difference in flight performance.
Flying Your Ram-Air Kite
Ram-air kites thrive in a range of wind conditions. Start with a moderate breeze and gradually increase the wind speed as you become more comfortable. Be prepared for a different flying experience compared to simpler kite designs – ram-air kites are more responsive and require careful handling.