Building a Cellular Kite: A Challenging but Rewarding Project
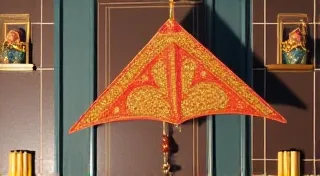
Cellular kites. The name itself conjures images of intricate structures and impressive strength. They’re a step beyond the basic diamond or delta, demanding more precision in construction and a deeper understanding of kite aerodynamics. If you’re a seasoned kite builder looking for a new challenge, building a cellular kite is an excellent project to undertake. This article will guide you through the basics, highlighting key considerations and techniques.
What is a Cellular Kite?
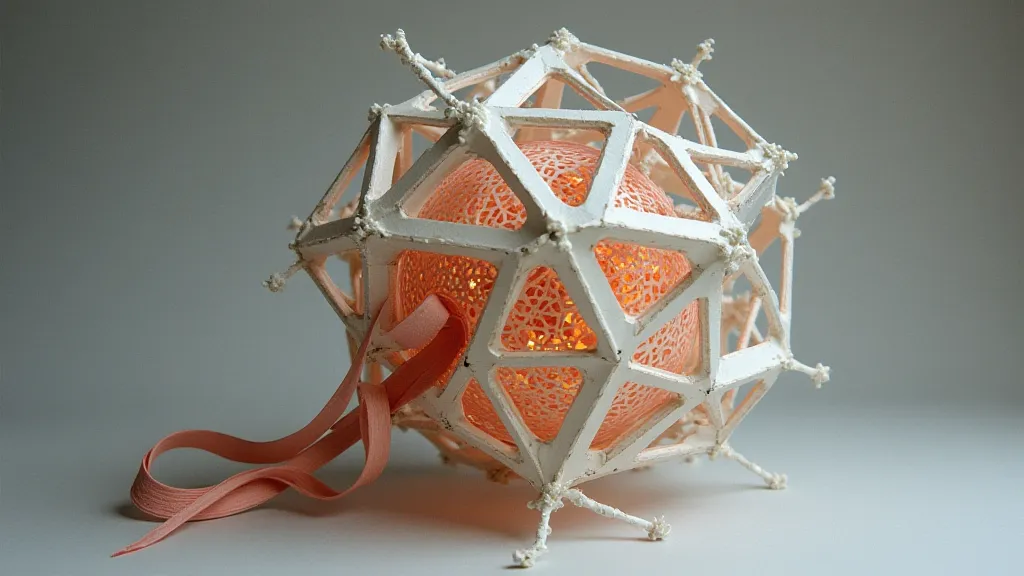
Unlike traditional kites that rely on a single surface to generate lift, cellular kites are constructed from a series of interconnected cells. These cells are essentially small, individual kite structures that combine to form a larger, more complex flying surface. This design offers several advantages: increased structural rigidity, resistance to deformation in wind, and the ability to create visually stunning and uniquely shaped kites.
Materials and Tools
Building a cellular kite requires similar materials to other kite projects, but the precision needed means you'll want to invest in good quality supplies:
- Kite Covering: Ripstop nylon or polyester is ideal. Consider the weight - a lighter covering is often preferred for ease of handling.
- Frame Material: Thin wooden dowels (balsa or spruce) are common. Carbon fiber rods offer increased stiffness and reduced weight, but are more expensive.
- Glue: A strong, fast-drying glue like CA glue (cyanoacrylate) is essential for secure cell connections.
- Thread: Strong kite string is needed for bracing and securing the covering.
- Tools: Sharp craft knife, scissors, ruler, cutting mat, clamps, pencil, potentially a small sanding block.
Design Considerations
Cellular kite designs vary immensely. Some are simple repetitions of a basic cell, while others feature complex, asymmetrical arrangements. Here's what to keep in mind:
- Cell Shape: Start with a simple cell shape, like a triangle or rectangle. This will make the overall construction process easier.
- Cell Size: Smaller cells generally result in a more stable, but more complex, kite.
- Cell Arrangement: The way you arrange the cells drastically impacts the kite's shape and flight characteristics. Experiment with different layouts.
- Spar Placement: Strategic placement of spars is crucial for maintaining the cellular structure's integrity and ensuring even stress distribution.
Construction Steps (A Simplified Approach)
- Create Cell Templates: Accurately cut templates for each individual cell. Precision is key to ensuring consistent cell shape and size.
- Assemble Individual Cells: Construct each cell by gluing the frame pieces together. Let the glue dry completely before proceeding.
- Connect the Cells: This is the most challenging part. Carefully align and glue the cells together, ensuring strong and even connections. Use clamps to hold pieces in place while the glue dries.
- Brace the Structure: Add bracing thread to reinforce the cellular structure and prevent deformation.
- Covering: Apply the kite covering material, carefully stretching and securing it to the frame.
- Bridle Attachment: Attach the bridle carefully, experimenting with different placement to optimize flight characteristics.

Tips for Success
- Start Small: Don't attempt a massive, complex cellular kite for your first project. Begin with a smaller, simpler design.
- Accuracy is Paramount: Minor inaccuracies in cell construction can compound, leading to flight instability. Take your time and double-check your measurements.
- Strong Glue Joints: Weak glue joints are a common failure point. Ensure the glue has completely dried before applying stress to the structure.
- Experiment with Bridle Placement: The bridle point is crucial for balancing the kite and optimizing its flight.
- Be Patient: Building a cellular kite is a challenging but rewarding experience. Don't get discouraged if your first attempt isn't perfect.
Conclusion
Building a cellular kite is a significant undertaking, but the result – a unique and impressive flying machine – is well worth the effort. By following these guidelines, practicing patience, and embracing the challenge, you can add a stunning piece of custom kite artistry to your flying repertoire.